So for example I was given a picture of a man walking down the street holding a bag, like this :
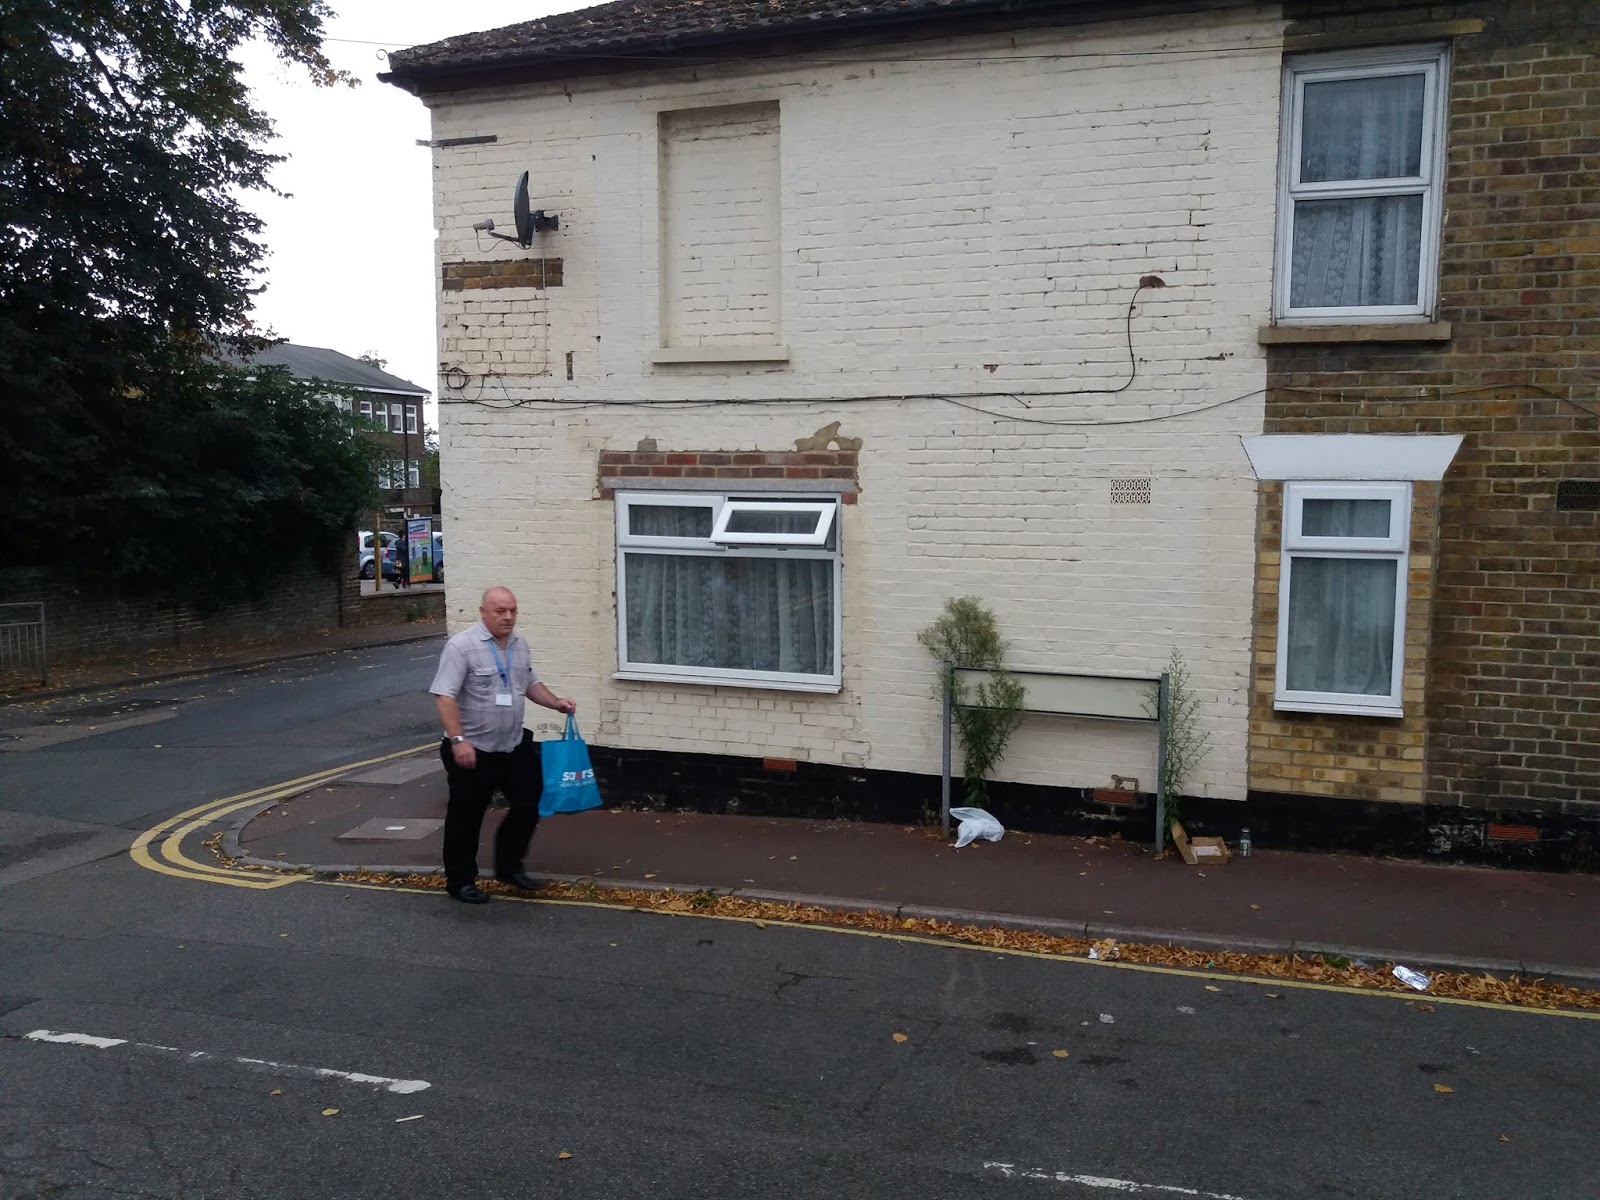
My job was to remove the man entirely and add in the background again, meaning the house bricks, the path, road, tiles and air vent on the bottom.
To start with I looked at another photo that was taken showing what was originally behind the man, and compared them, like this;


Now I have a basic idea of what the building looked like behind this man, I can see there was a symbol or logo of a man in a top hat, and another red vent along the bottom.
So now I know what to put in once I remove the man from the picture.
So to remove the man from the picture we are going to use a tool called Clone Stamp Tool, and its very simple to use, click it and then hold the Alt button, hovering over the texture you would like to copy, for example the wall and then let go, now you have the that exact small piece of the texture, and to use it properly you need to do small little strokes repeatedly, clicking and un-clicking to keep it consistent otherwise you can start to mix textures together.

This is what the tool looks like.
You do this for majority of the image, using the right textures for the parts of the picture.
And then you can open up a new tab in PS (PhotoShop) with the second picture that has the wall there, and use the Rectangular Marquee Tool which looks like this;

to cut out parts like the symbol and the vent to copy and paste onto the other tab and place it over the original lining it up and smoothening it with the Clone Stamp tool.
You have to make sure you have tried to cover up anything that shows the man prior to being removed, and make it look as realistic and believable as possible.
Another task I was given was to rename the street, using the Rectangular Marquee Tool to cut out the plants and paste onto another tab so that I don't loose the original image of the plants, like so;

Make sure to crop both plants either side the road sign.
Then on the other tab, with the plants you use the eraser tool set to the smallest scale you can (1) and start to rub out everything except the plant, making sure there background is set to transparent.
Once done there you go back to the original image you are editing and use Clone Stamp Tool to cover the whole sign, including the plants that are covering over it, but nothing else, so it looks like a blank sign with no name nor plants growing over it.
Use the the writing tool to make your own name with the font Ariel and set it to all capitals and make it bold. Make up a random name for the road and place it where the sign is, and then going back to your plants that have everything else erased copy and paste it back to the original and slowly line it up with the original picture, and then you should be done. And have something that looks like this;

This is the end of the tutorial.

